SwiftUI Preview Snapshots
SwiftUI Previews allow you to generate the view as its being developed. This is super helpful as it allows you to quickly customize the previews with different settings to verify the view responds correctly. What if you then want to Snapshot these previews so that you can make sure that future changes don’t break existing views? Let’s walk through one way of doing this.
Viewing Previews
In XCode, if you open a View in your souce code, you may see something like this:
struct View_Previews: PreviewProvider {
    static var previews: some View {
        View()
    }
}❗️You may also see newer usage of macros but i’m not going to cover that here in this article since the snapshots we will be taking will follow this older syntax. I’ll post a link that references the issue with macros in the section at the bottom though.
If you aren’t seeing the preview pane, you can go Editor > Canvas.

Using SwiftUI-Preview-Snapshots
We will be using swiftui-preview-snapshots from doordash to generate the snapshot images. Follow their installations steps on the github page.
Instead of using the preview code as shown above, you can write something like this:
struct View_Previews: PreviewProvider {
    static var previews: some View {
        snapshots.previews
    }

    static var snapshots: PreviewSnapshots<String> {
        PreviewSnapshots(configurations: [
            .init(name: "Default", state: "")
        ],
            configure: { state in
            View()
        })
    }
}
It should generate the preview in the canvas. Some things to take note of. What is that “Default”? Well, it is used for that tab name in the canvas pane. This is very helpful when you have multiple scenarios which i’ll show next.

If you want to preview it on a different device you can use this device list on the bottom.
Multiple Scenarios
If you have multiple scenarios that you want to test for a view, you can handle that by having multiple configurations:
struct InputView_Previews: PreviewProvider {
static var previews: some View {
snapshots.previews
}
static var snapshots: PreviewSnapshots<InputView> {
PreviewSnapshots(configurations: [
.init(name: "EnabledFocused", state: inputView(focused: true)),
.init(name: "EnabledNotFocused", state: inputView()),
.init(name: "Disabled", state: inputView(isDisabled: true))
],
configure: { state in
state
})
}
}
private func inputView(isDisabled: Bool = false, focused: Bool = false) -> InputView {
@State var data = "Testing"
return InputView(data: $data, isTextFieldFocused: focused, isDisabled: isDisabled, title: "Title")
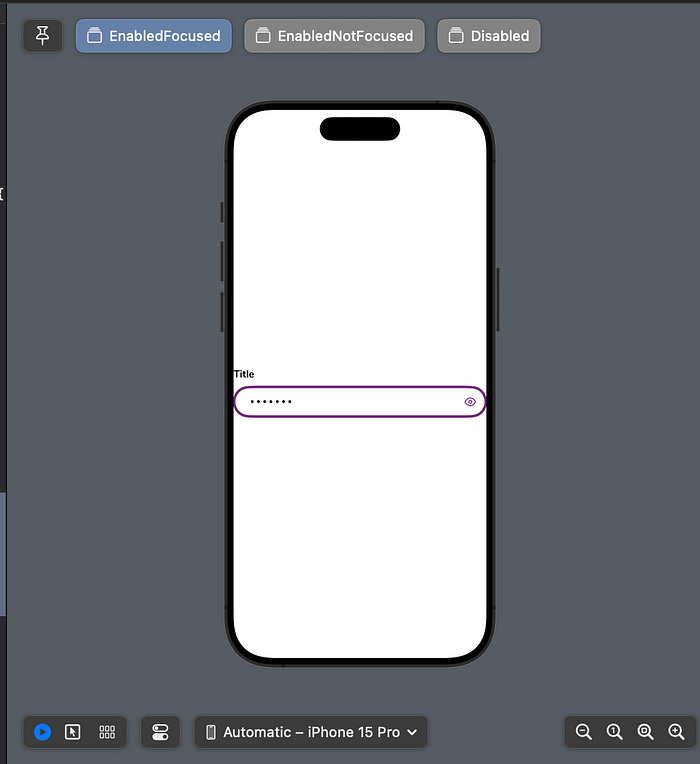
}When the canvas is updated, you will now see 3 tabs. One for each configuration. You can switch between these to see how the View changes.
Setting the Preview Device
Instead of changing the device in the Canvas manually, you can generate the view automatically on a particular device by using previewDevice
struct InputView_Previews: PreviewProvider {
    static var previews: some View {
        snapshots.previews
    }

    static var snapshots: PreviewSnapshots<InputView> {
        PreviewSnapshots(configurations: [
            .init(name: "EnabledFocused", state: inputView(focused: true)),
            .init(name: "EnabledNotFocused", state: inputView()),
            .init(name: "Disabled", state: inputView(isDisabled: true))
        ],
            configure: { state in
            state
              .previewDevice(PreviewDevice(rawValue: Devices.iPhoneSE3rdGen.rawValue))
        })
    }
}
⚠️ Make sure you have the “Automatic” option selected in the device menu.
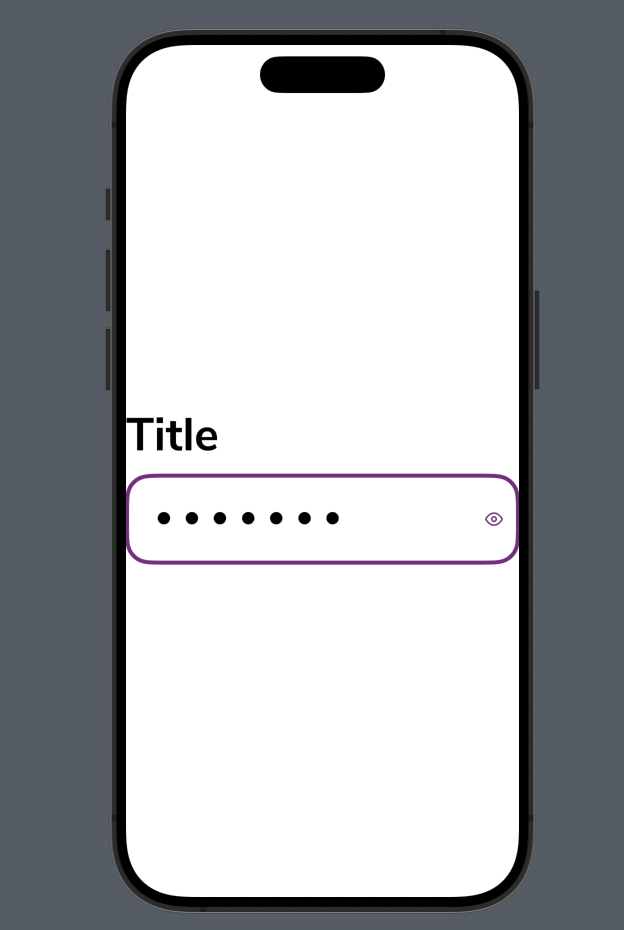
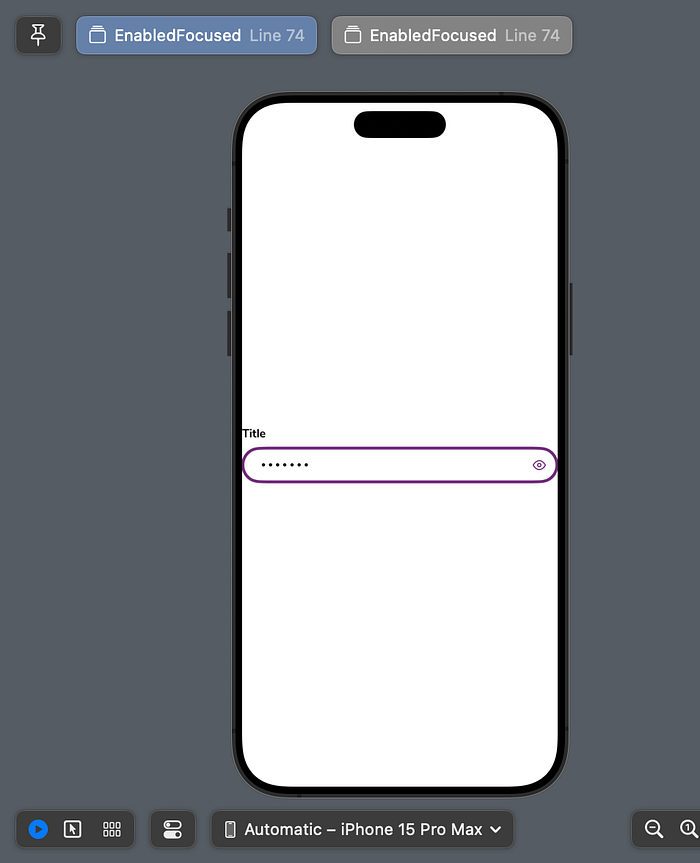
It should then automatically render the images in the canvas on the device you supplied:

Testing Font Sizes
What if you want to see how the view reacts to a user going into their accessibility options and increasing or decreasing their font size? You can do this by using an environment setting.
state
   .environment(\.sizeCategory, .accessibilityExtraExtraExtraLarge)
These are the different options you can currently use:
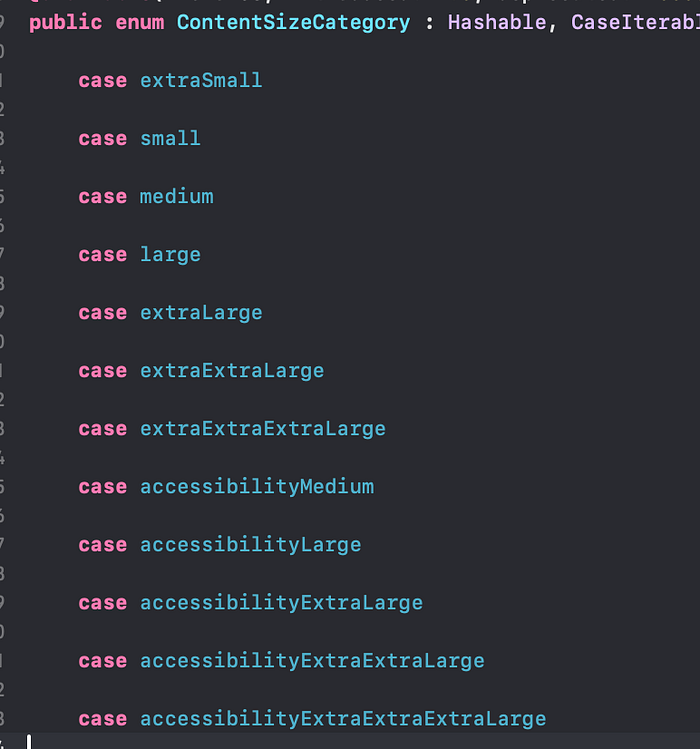
The view should update in the canvas with the supplied font size then.
Multiple Devices
What if you want to see how the same view would behave of different devices? You can create multiple previews for this.
struct InputView_Previews: PreviewProvider {
    static var previews: some View {
        compactDevice.previews
        extendedWidthDevice.previews
    }

    static var compactDevice: PreviewSnapshots<InputView> {
        PreviewSnapshots(configurations: [
            .init(name: "EnabledFocused", state: inputView(focused: true))
        ],
            configure: { state in
            state
                .previewDevice(PreviewDevice(rawValue: Devices.iPhone15ProMax.rawValue))
        })
    }

    static var extendedWidthDevice: PreviewSnapshots<SecureInputFieldView> {
        PreviewSnapshots(configurations: [
            .init(name: "EnabledFocused", state: inputView(focused: true))
        ],
            configure: { state in
            state
                .previewDevice(PreviewDevice(rawValue: Devices.iPhoneSE3rdGen.rawValue))
        })
    }
}
So now when you switch tabs in the editor, you will see the view change per the specified device:
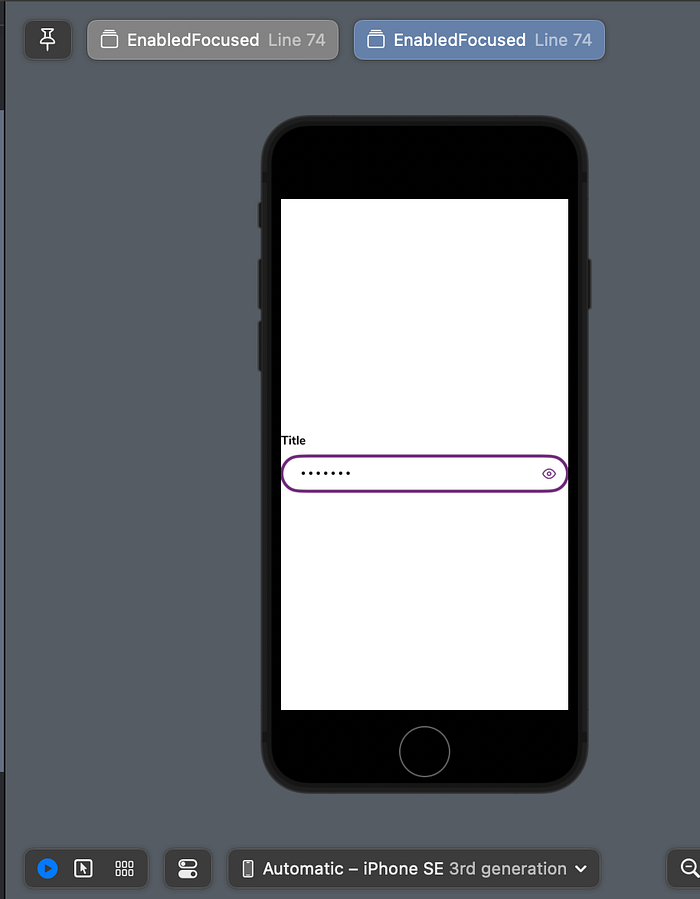
But wait! The tabs names now match 😑. How can we update this to reflect the unique scenario?
Custom Tab Display Names
You can use previewDisplayName to overide the init name being used from the configuration.
struct InputView_Previews: PreviewProvider {
    static var previews: some View {
        compactDevice.previews
        extendedWidthDevice.previews
    }

    static var compactDevice: PreviewSnapshots<InputView> {
        PreviewSnapshots(configurations: [
            .init(name: "EnabledFocused", state: inputView(focused: true))
        ],
            configure: { state in
            state
                .previewDevice(PreviewDevice(rawValue: Devices.iPhone15ProMax.rawValue))
                .previewDisplayName("iPhone 15 Pro Max")
        })
    }

    static var extendedWidthDevice: PreviewSnapshots<SecureInputFieldView> {
        PreviewSnapshots(configurations: [
            .init(name: "EnabledFocused", state: inputView(focused: true))
        ],
            configure: { state in
            state
                .previewDevice(PreviewDevice(rawValue: Devices.iPhoneSE3rdGen.rawValue))
                .previewDisplayName("iPhone SE")
        })
    }
}
You will then see the tabs in the canvas get updated to reflect the string you gave for previewDisplayName.

Orientation
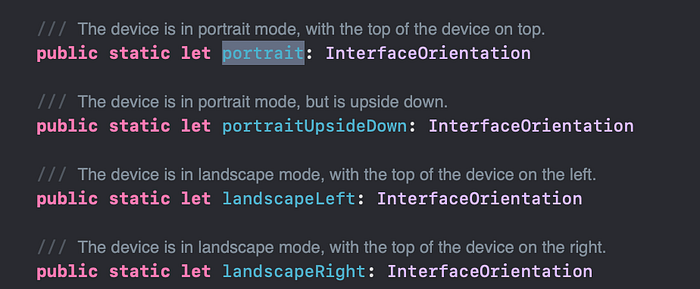
If you want to test the view using the device in specific orientation, you can use previewInterfaceOrientation
state
  .previewInterfaceOrientation(.landscapeLeft)
Using one of these for the value:
Environment Objects/Variables
If your view has an environment object or variable like this
@EnvironmentObject var name: SomeType
or
@Environment(\.horizontalSizeClass) var horizontalSizeClass
Then in order for the preview to render correctly you may need to supply it in the preview section by using environmentObject or environment
state
   .environmentObject(Type())

or

.environment(\.horizontalSizeClass, .compact)
Creating the Snapshot Images
❓ So how do we actually generate a snapshot image then?
Create a test class and import PreviewSnapshotsTesting. Within the test, specify PreviewStruct.PreviewName.assertSnapshots() or PreviewStruct.PreviewName.assertSnapshots(named: “abc”). You could also pass in a device config like this InputFieldView_Previews.snapshots.assertSnapshots(as: .image(layout: .device(config: .iPhone15ProMax(.portrait))))
⚠️ I ran into the issue mentioned here https://github.com/doordash-oss/swiftui-preview-snapshots/issues/6. Unfortunately there are no solutions noted on what is wrong. The only way I could get the snapshots to generate correctly was by using the device config like this:
InputFieldView_Previews.snapshots.assertSnapshots(as: .image(layout: .device(config: .iPhone15ProMax(.portrait))))
import PreviewSnapshotsTesting
import XCTest
@testable import myupmc
class InputFieldSnapshotUITest: XCTestCase {
func testInputField() {
InputFieldView_Previews.snapshots.assertSnapshots(named: "iPhone15ProMax")
}
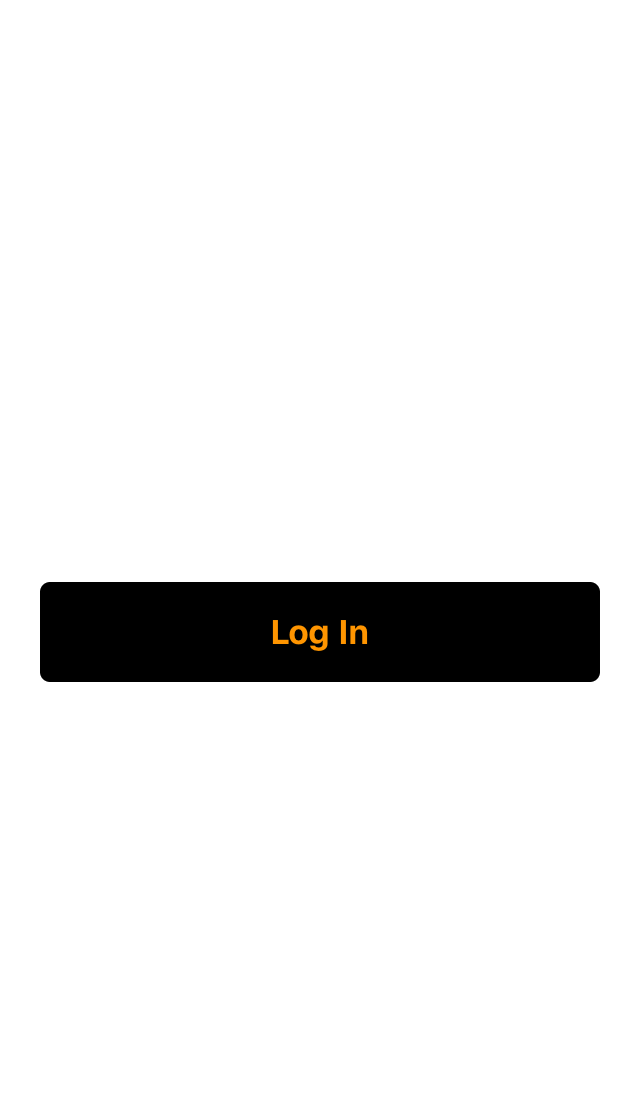
}The first time you run the test it will generate the snapshot image in the location where your tests are stored. It will generate a “__Snapshots__” folder and the images will be inside.

They will be named as testName.Named (if given)-InitConfigName. Example: testInputField.iPhone15ProMax-EnabledFocused.png
If you run the test again, it will run the test and pass/fail it based on whether or not it matches the base image that was recorded. If you need to re-record the base image then you can either delete the current image and rerun the test or you can pass in a record parameter of true.
InputFieldView_Previews.snapshots.assertSnapshots(named: "iPhone15ProMax", record: true)Test Failures
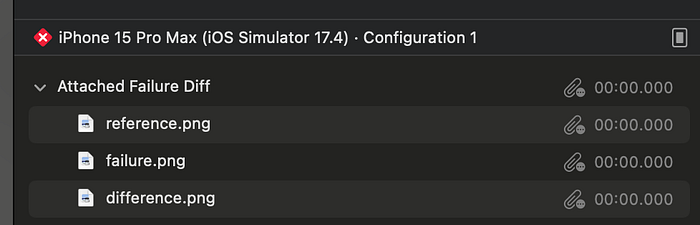
If a snapshot image fails to match the reference image, the test case will fail and you will be able to see reference image, the failed image (current image), and the difference file if you go to the Report Navigator tab in XCode.